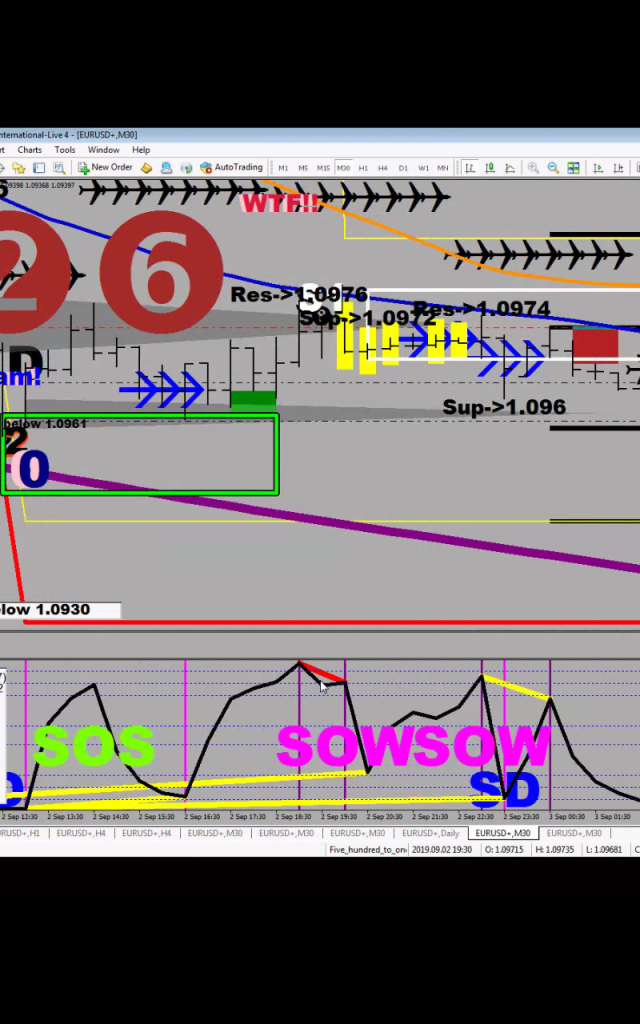
For the trading in bear zone 1 different set of rules apply.
The zone itself is between 1x and 3x fluctuation maximum distance away from the Mean, the Green River.

Supports and resistances have secondary to no importance, what you must resort to is the degree of the stretch and time.
A range bound market – if a definition can be given at all, fluctuates between bear-zone-1 and bull-zone-1, since the bears are at disadvantage in bear zone 1 and of course the opposite applies at the other end.
If someone makes a statement like “the bears are in control here” they do not know what they are talking about.
In bear zone 1, the strong handed bears not only have to counter balance and exceed buying, but they also have to be put up with weak handed bears covering in droves (meaning they are also buying).
The only weapon strong handed bears have is orchestrated effort, which entails waiting the right conditions to develop for a power move.
To act, which is dipping their paws into the short-honey jar, they must wait patiently. They must sit on their furry butt until Whoop, Bam and Boogie finished with making sandwiches in the kitchen.

Only then they can make an effort in stretching the rubber band further.

