
The tendering phase’s 1st leg makes a push outside the cover line (magenta) and proceeds to the W3M. This means the middle of the orange box relative to the last consolidation level.
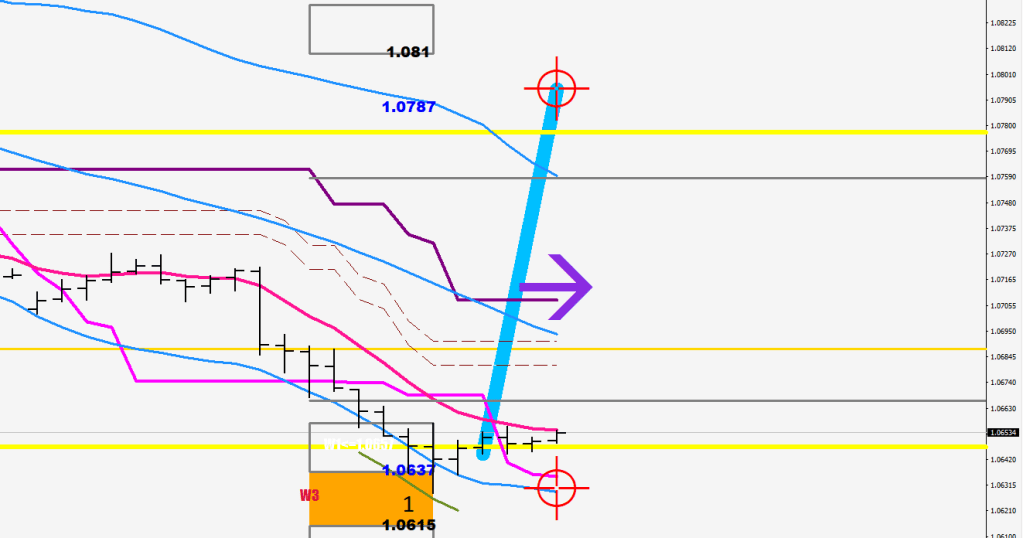
Then you get a pullback after the end of the first leg, that may not take the price back much beyond the 8EMO (Blue Arrows/ deep pink line).
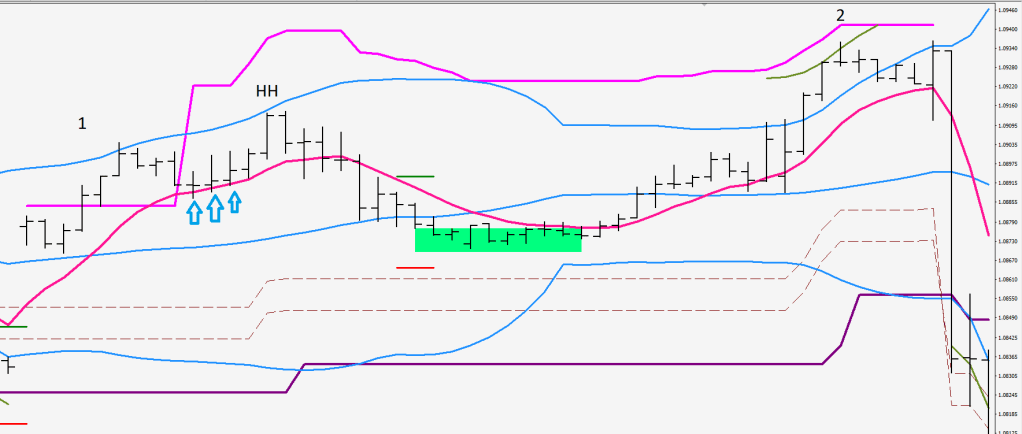
Then the LL shall be printed that would make a beat beyond the “1” print by 3-14 pips statistically.
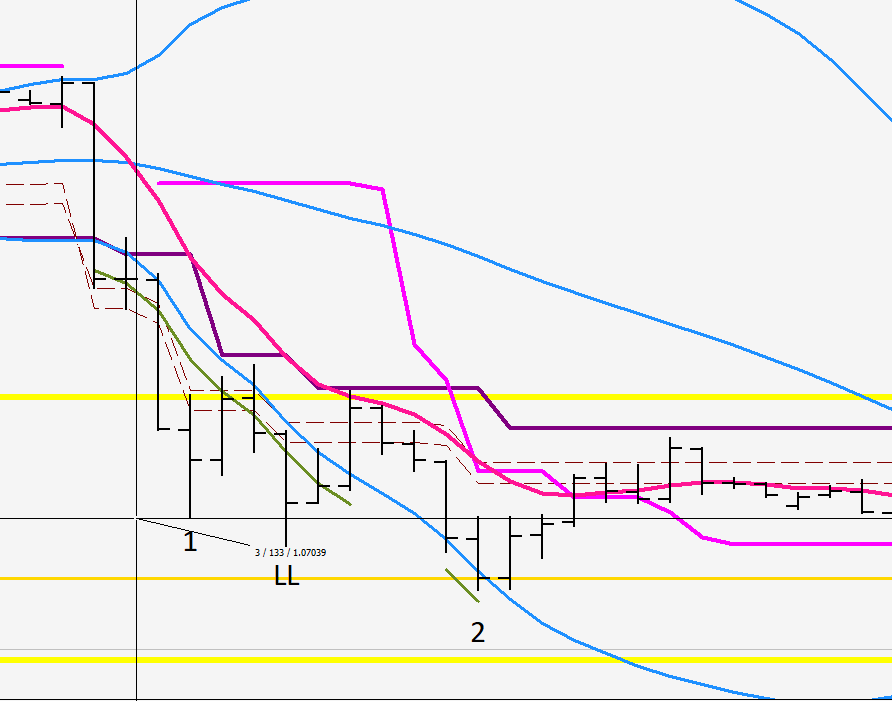
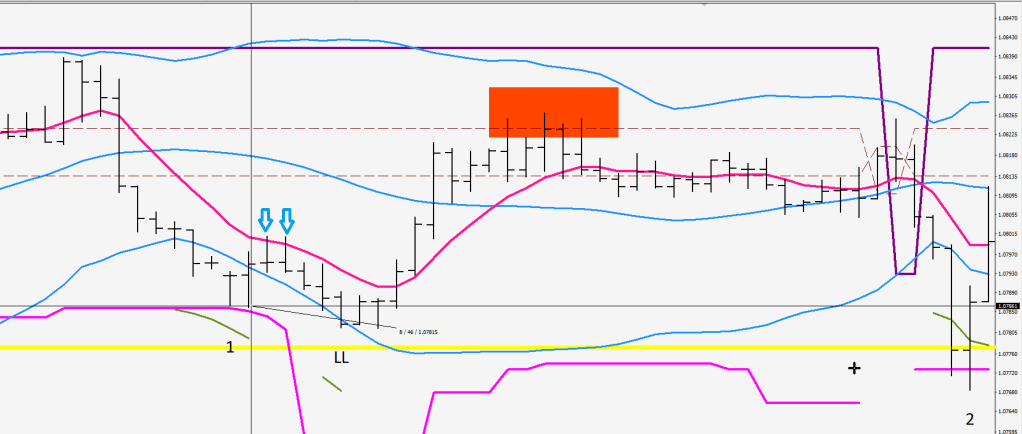
After the LL print the Tendering phase is over, and you get a deeper pullback typically beyond the S-30 (middle Bollinger) during extreme volatility the LH pullback would fall shy of the 80-pip line (purple).
The LL-LH pullback is 35-45 pips during peace times, and the thrust to the #2 endpoint is going to print at the cover level (53 pips from the current 10-sample high plus minus 10 pips. The high volatility example shows the 30-sample BB low as a substitute.
The “2” print is the end of the driven thrust structure.
